What this setup creates
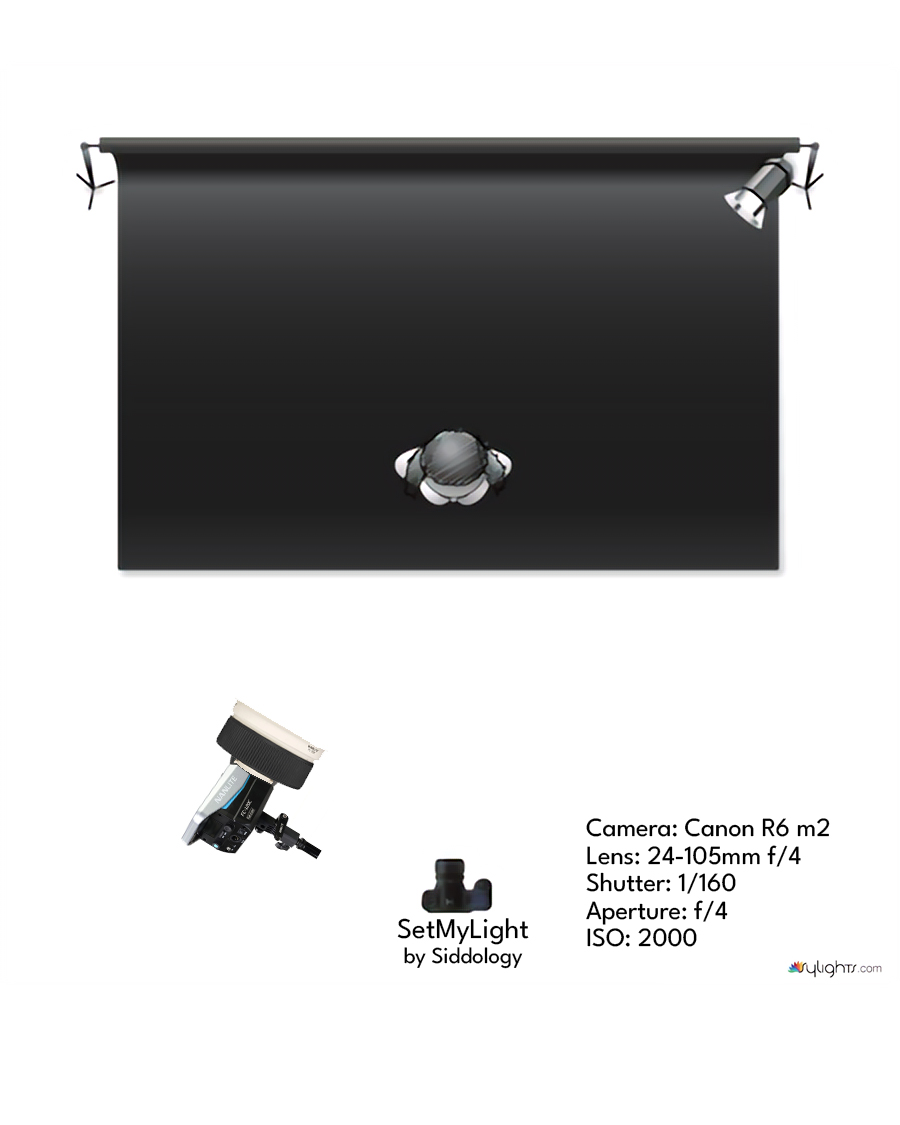
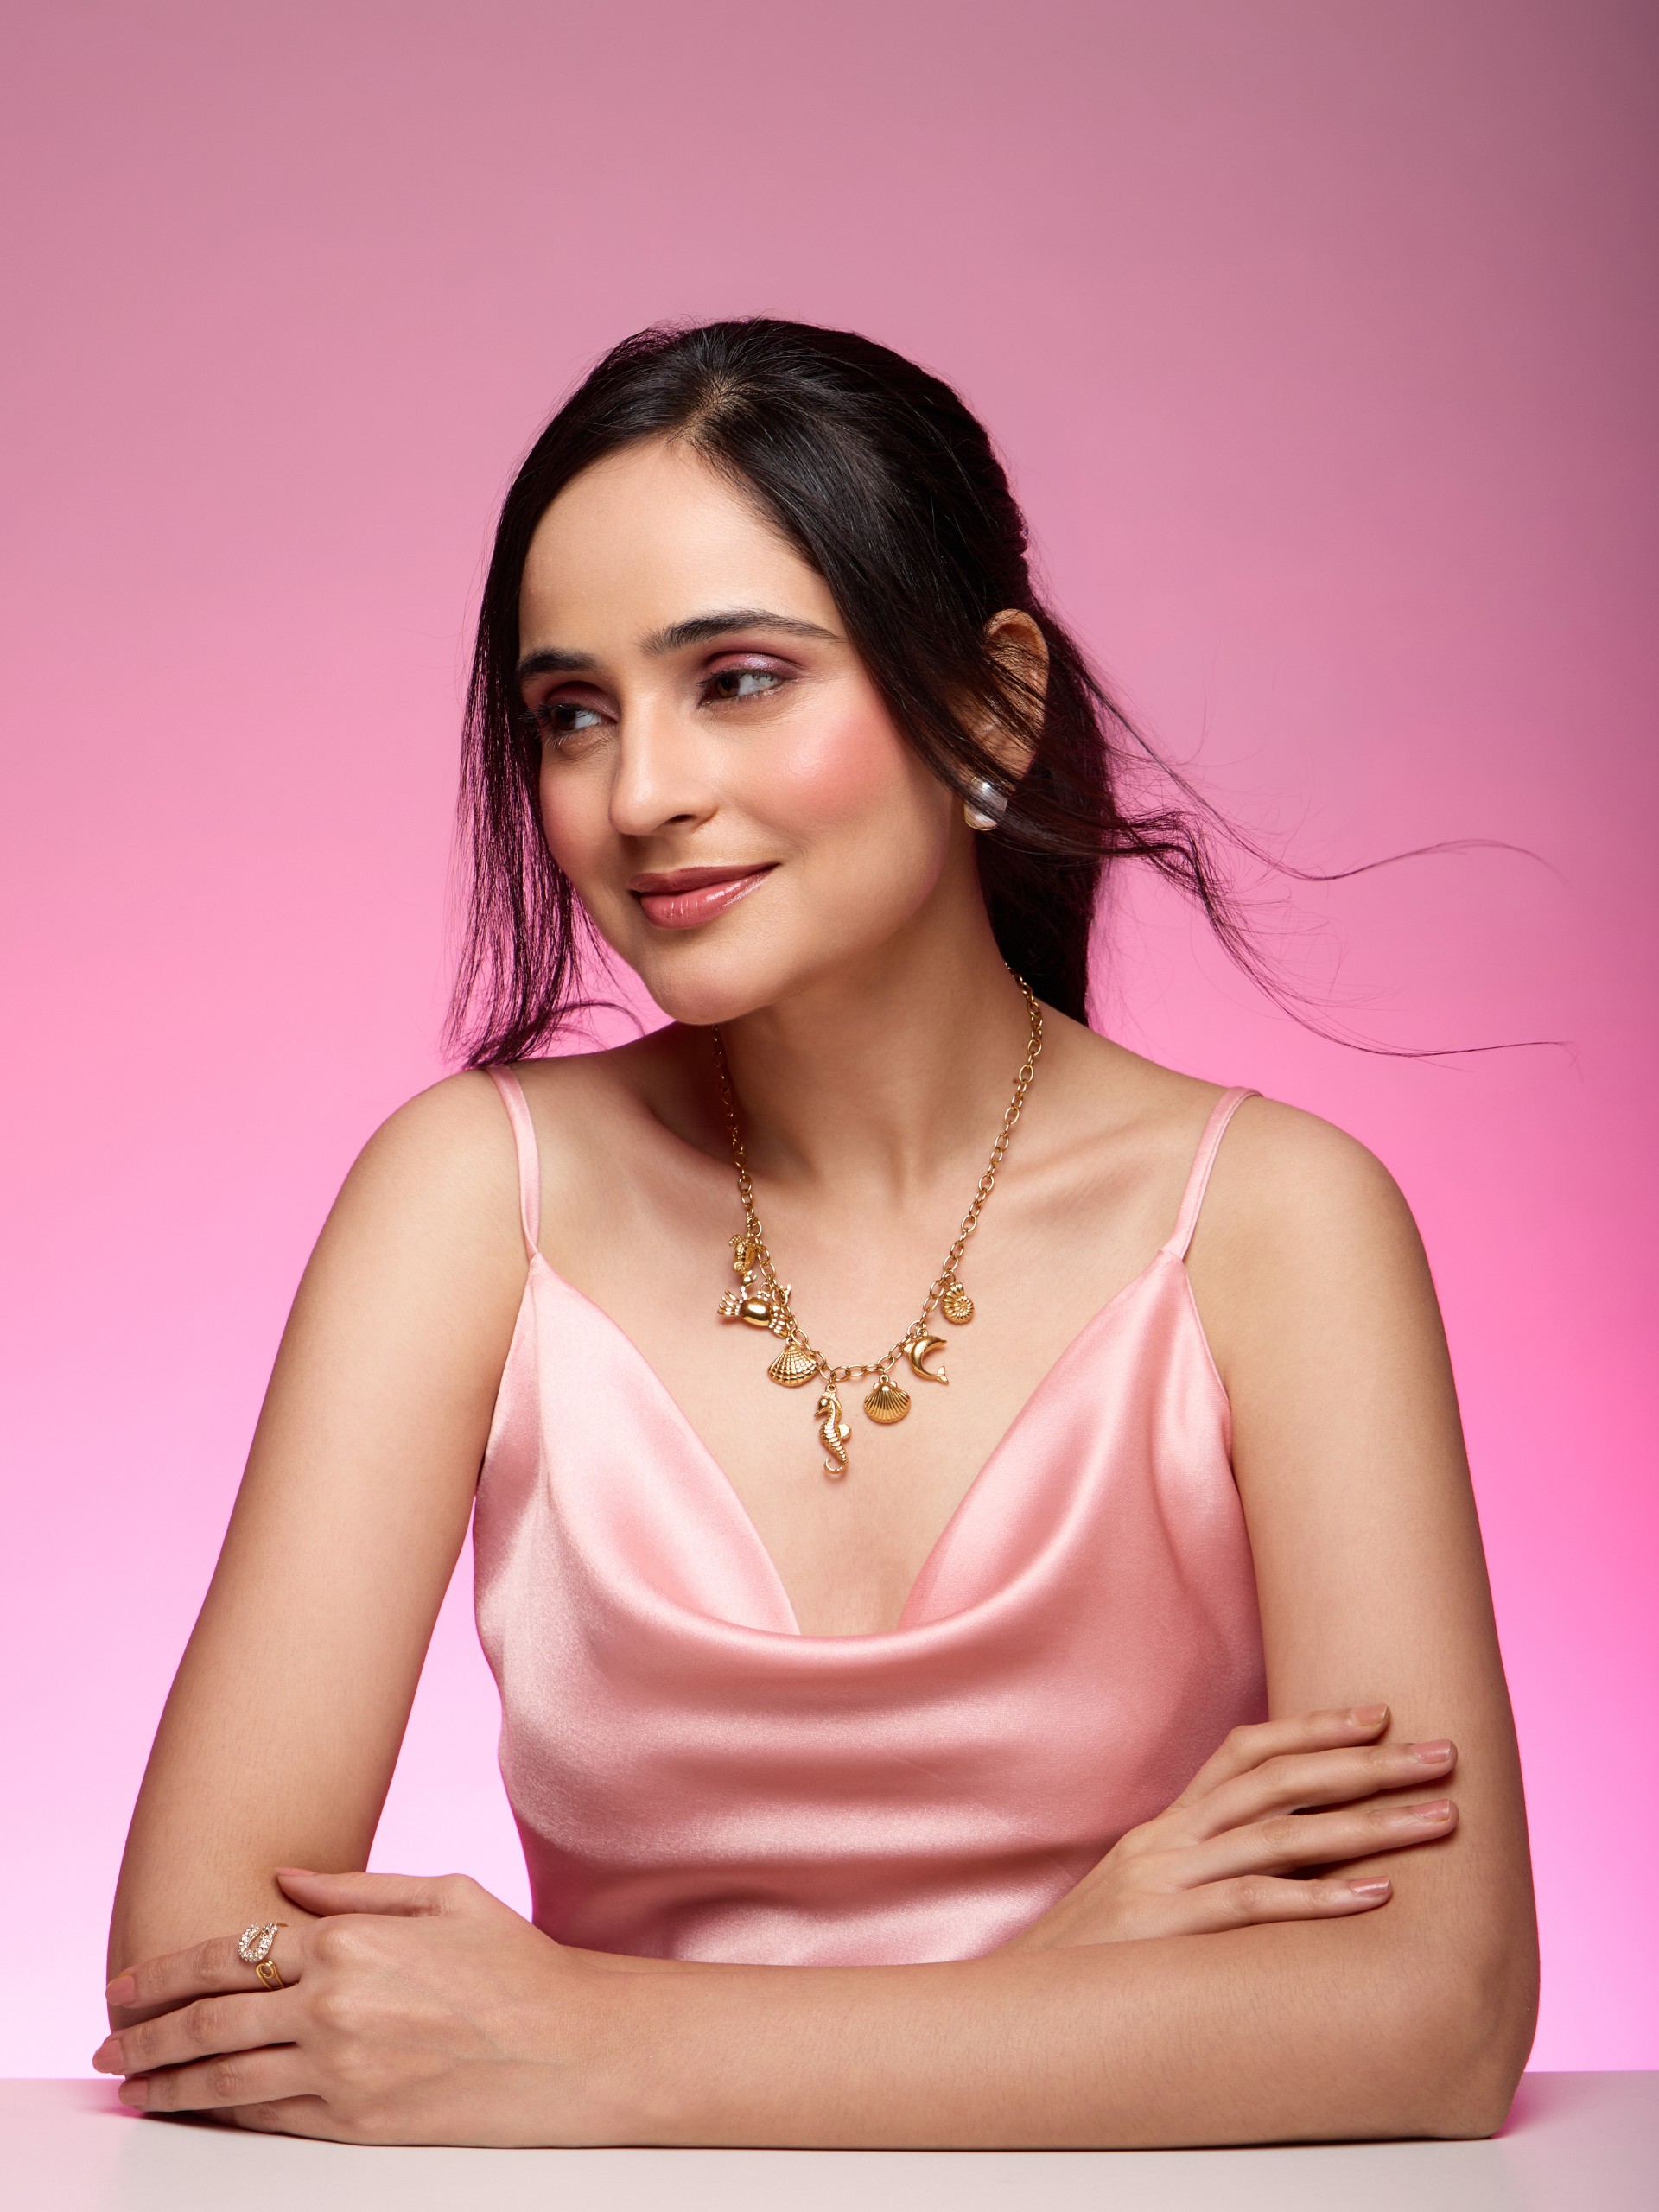
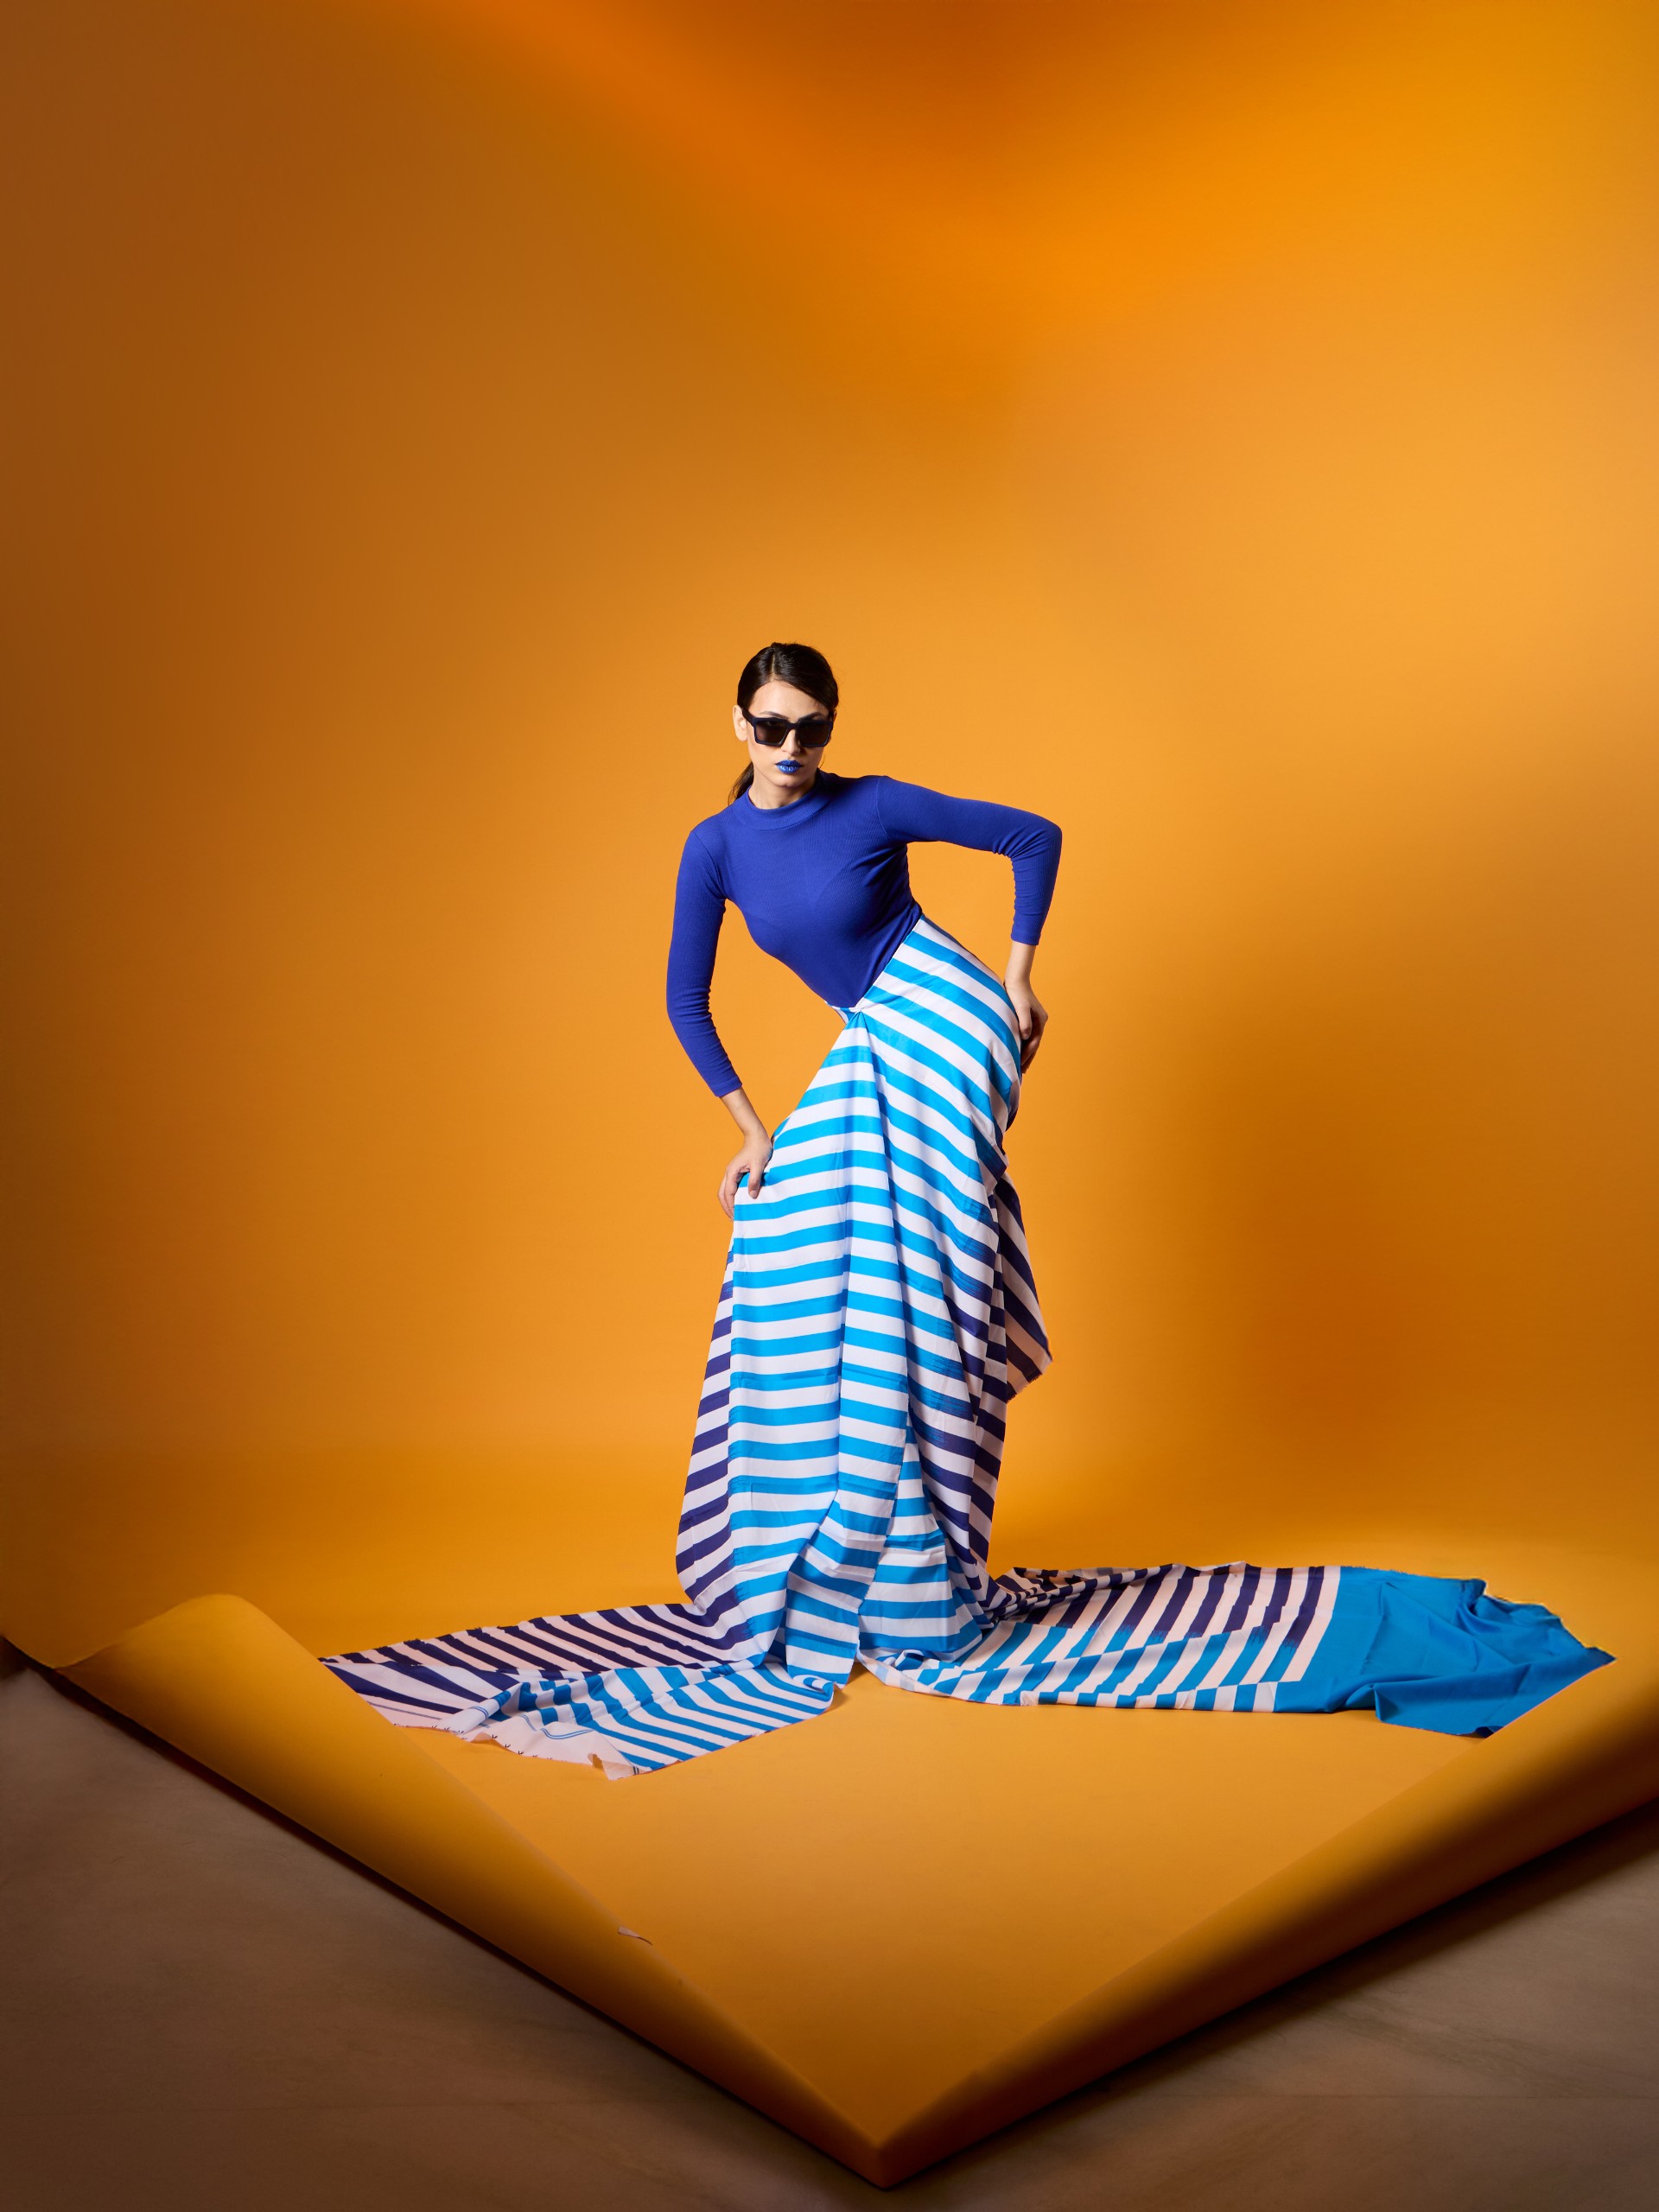
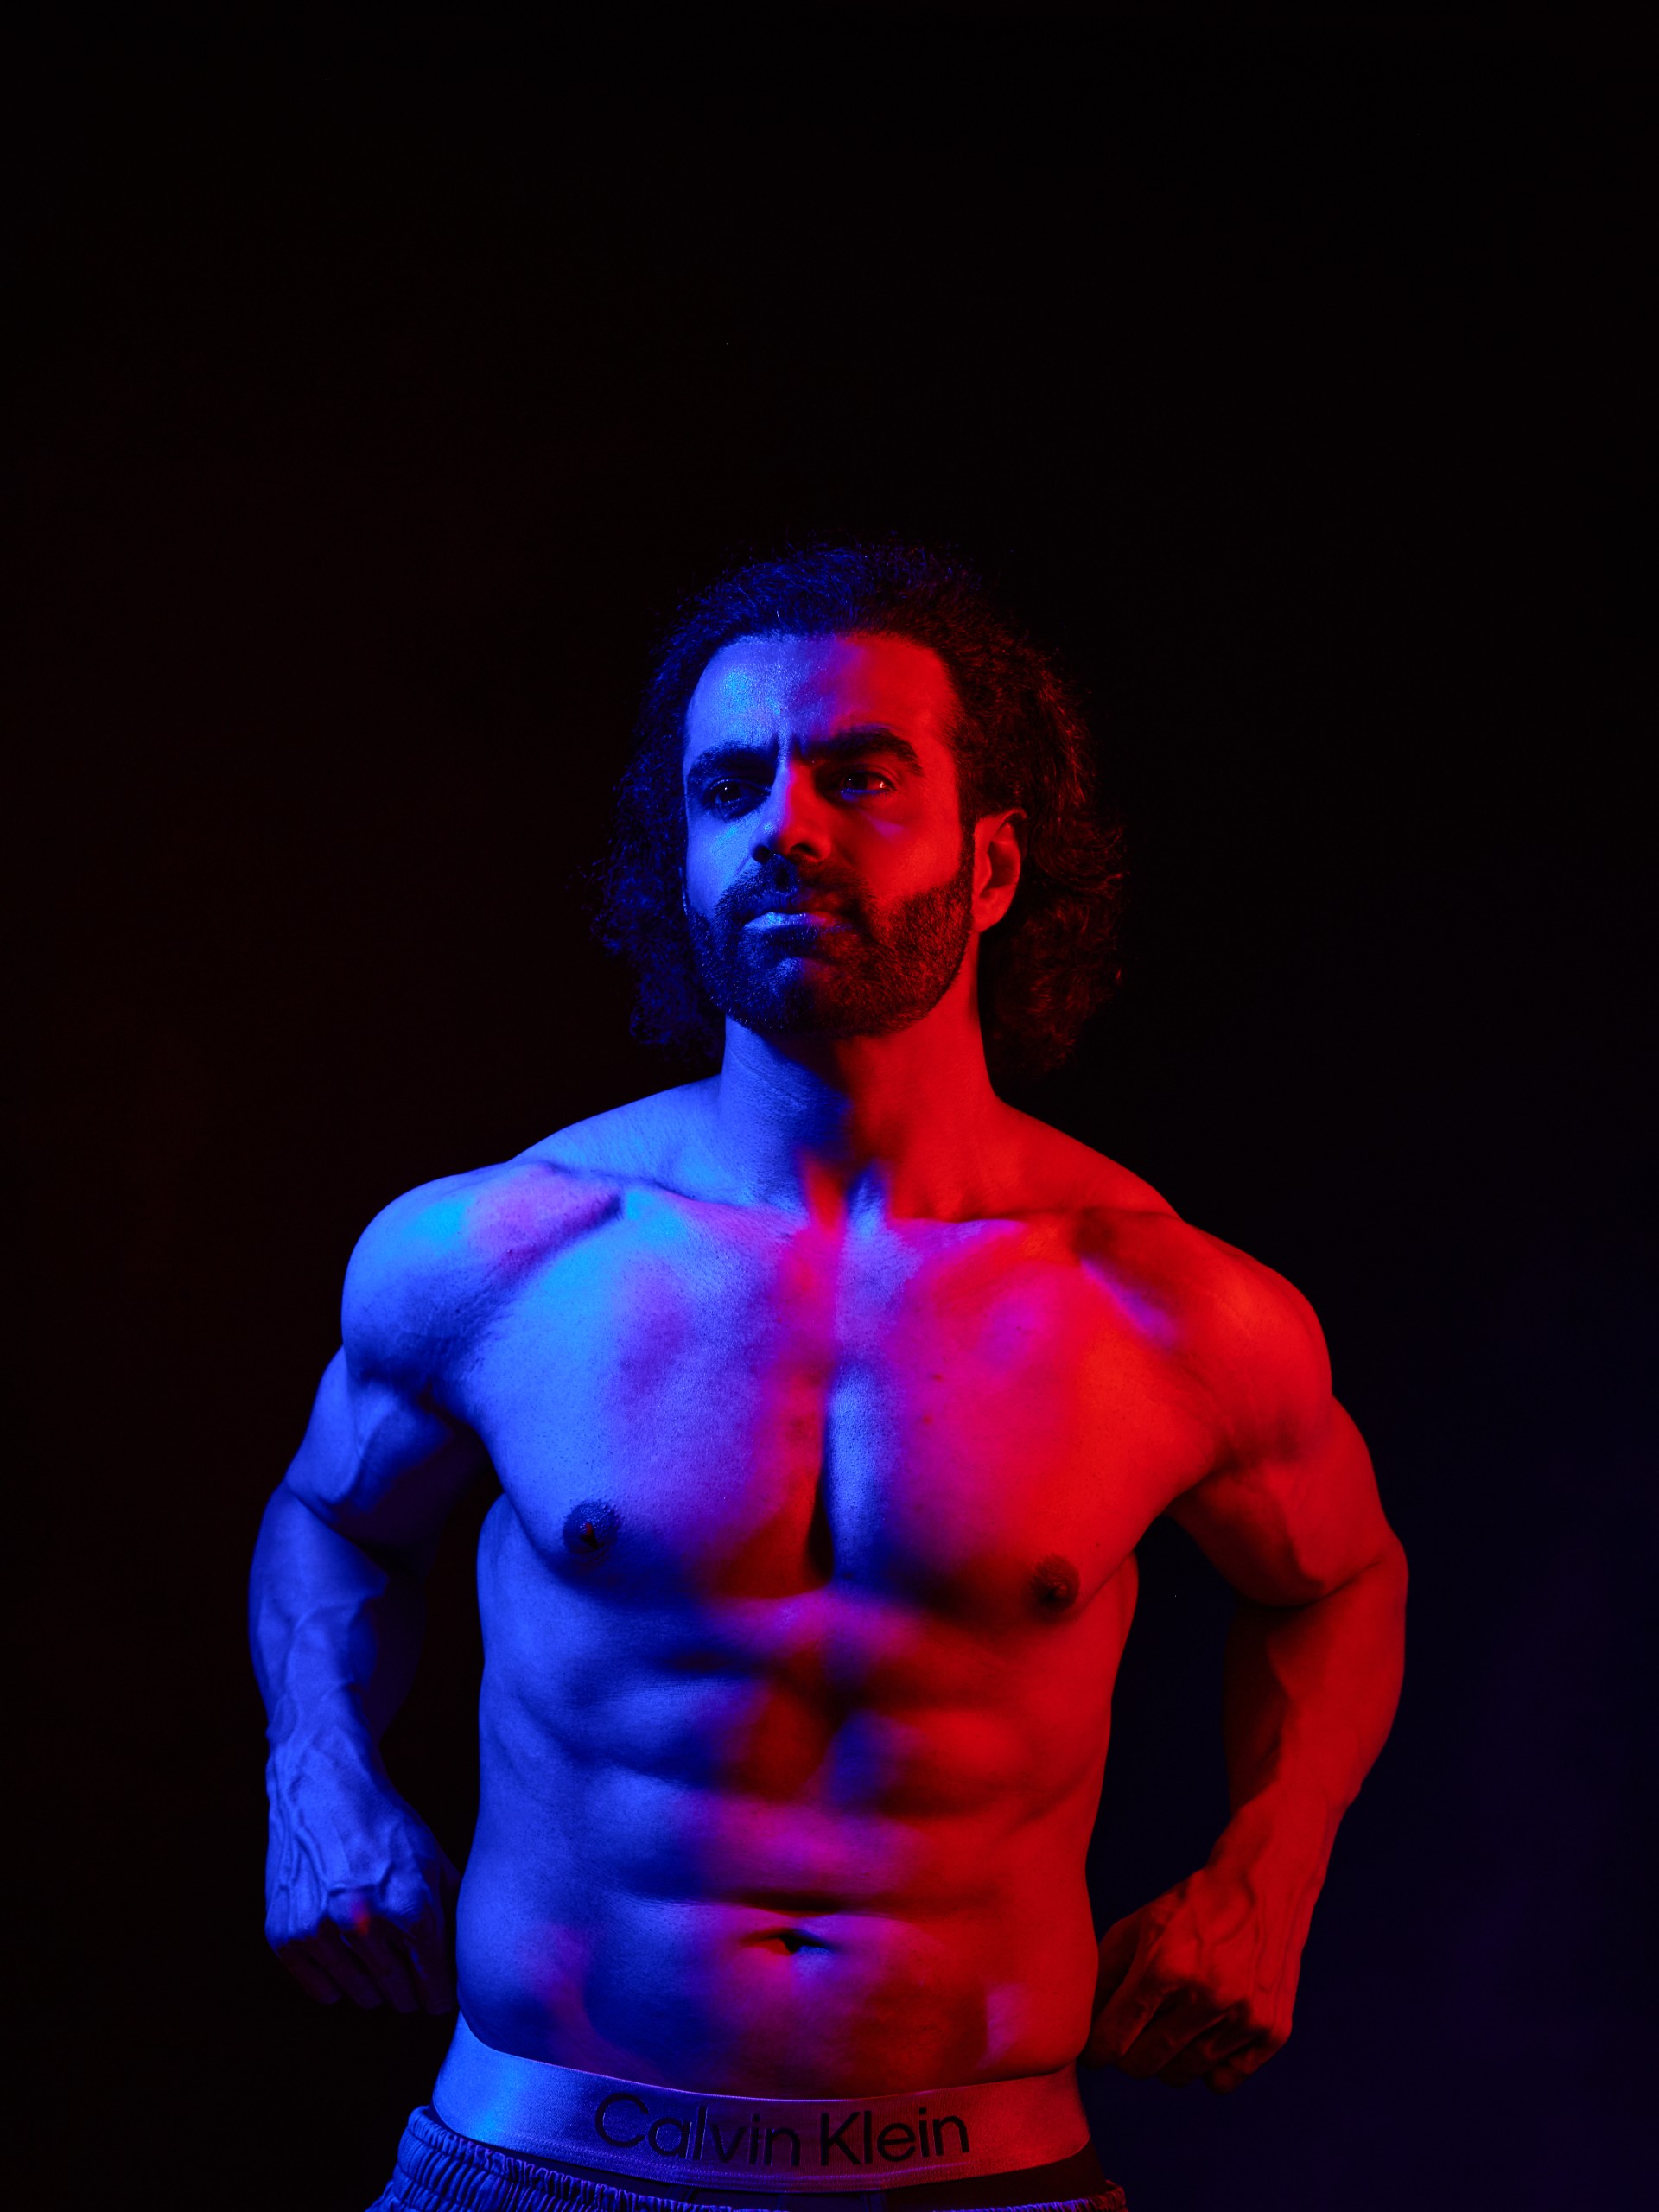
This elegant, cinematic portrait setup uses a single key light and a bare bulb accent light to create a warm, moody aesthetic with dramatic rim lighting. The key light, a NANLITE FC-120C with a standard reflector positioned camera left and angled slightly down, illuminates the subject's face and body, producing a semi-hard light quality with distinct but not overly harsh shadows. A second bare bulb light, placed behind and to the camera left of the subject, acts as a hair and rim light, creating a beautiful separation from the textured brown background and adding a warm, golden glow. A simple reflector is used to provide subtle fill from the camera right. This setup is ideal for creating impactful portraits, fashion editorials, or even cinematic stills where a rich, atmospheric mood and strong subject delineation are desired. The combination of direct and rim lighting emphasizes form and texture, making it versatile for various portrait styles, from high-fashion to intimate headshots.
Light placement
Key Light: A Nanlite FC-120C with a Fresnel modifier is positioned on camera left and directed towards the model. This light sculpts the face and provides the primary exposure.
Hair Light: A simple bowl reflector is placed on camera left, behind the model. Its purpose is to create subtle separation around the hair and shoulders, preventing them from disappearing into the background, rather than creating an obvious rim light.
How to build it
1. Place your model against a warm or neutral background.
2. Position the Nanlite FC-120C with Fresnel on camera left as your key light.
3. Place a simple bowl reflector on camera left, behind the model, for subtle hair separation.
4. Establish your exposure without the DIY filter first.
5. Mount a cheap UV filter onto your lens (do not apply directly to the lens).
6. Apply a thin layer of petroleum jelly around the outer edges of the UV filter, keeping the center mostly clear. Experiment with the amount of jelly for different haze strengths and coverage for softer or sharper results.
7. Shoot test frames and adjust the jelly as desired. Expose with the filter already on the lens, as highlights can bloom significantly.
8. Intentionally use highlights, as bright areas will produce a more visible glow and bloom.
- Lighting style
- Warm, cinematic, diffused highlights with controlled shadows.
- Key light
- 45 degree
- Light quality
- Semi-hard, Diffused, High contrast
- Shadows
- Dramatic shadows, Moody
- Background
- Ambient spill, Seamless backdrop
- Colour
- Warm tones, Neutral
- Visual mood
- Cinematic, Dreamy, Fashion-forward, Dark moody
Camera settings
From the tutorial- Aperture
- f/4
- Shutter speed
- 1/160s
- ISO
- 2000
- Focal length
- 24-105mm
The photographer notes that these settings were used for this particular frame and that exposure will vary based on light output, distance, and ambient conditions. When using the DIY diffusion filter, it's recommended to expose with the filter already on the lens as highlights can bloom significantly.